TurrisOS Router Installation & Netbird VPN Integration
Prerequisites
Before starting, ensure you have:
- An active account and access on the Obmondo UI.
- Completed the Git setup guide.
- A TurrisOS router powered on, connected to your network, with root SSH access enabled (SSH port 22 enabled via the Turris management panel/LuCI/Foris, and the router's LAN IPv4 address available).
Installing Linuxaid on TurrisOS Routers
-
Login to Obmondo UI, go to the servers page.
https://obmondo.com/user/servers

-
Click on
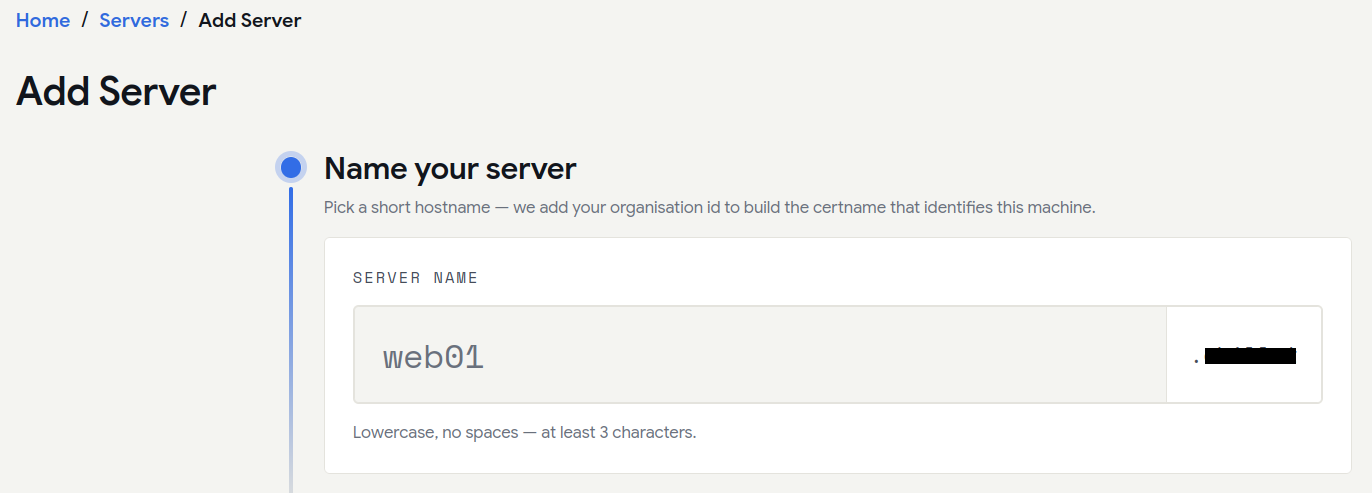
+ Add Server, and enter your server name (in our case, theTurrisOSrouter) following the naming convention:turris-{server-name}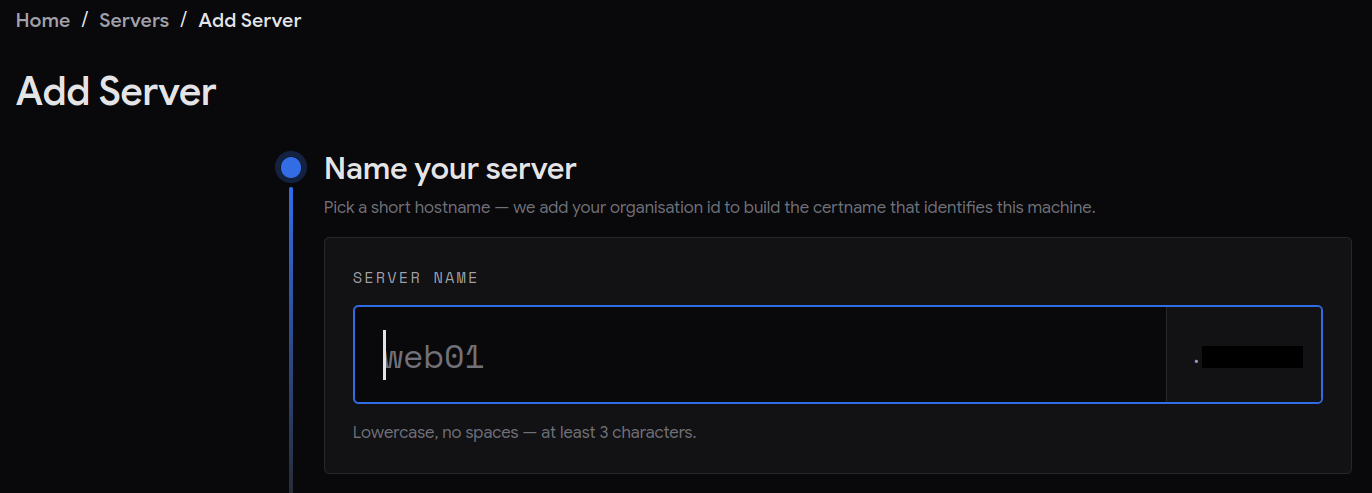
NOTE: Please ensure the
{server-name}is unique, since it will generate a certname in the formatturris-{server-name}.{customer-id}. For example, you can use unique location/network names such asturris-filmtraefdisk,turris-kanten-faxe, etc. The{customer-id}is appended at the end of{server-name}automatically. No need to repeat it in the{server-name}. -
In the next step, choose the
Basicrole, since we only want basic and essential services configured for Linuxaid to run properly on theTurrisOSrouter. -
Before running the installation command, ensure that root SSH access and port 22 are enabled on your TurrisOS router by following these steps:
-
From your workstation, open the Turris LuCI admin dashboard in your web browser and enter your credentials and click Login:
http://{network-address}/cgi-bin/luci/admin/dashboardUsername: rootPassword: your admin password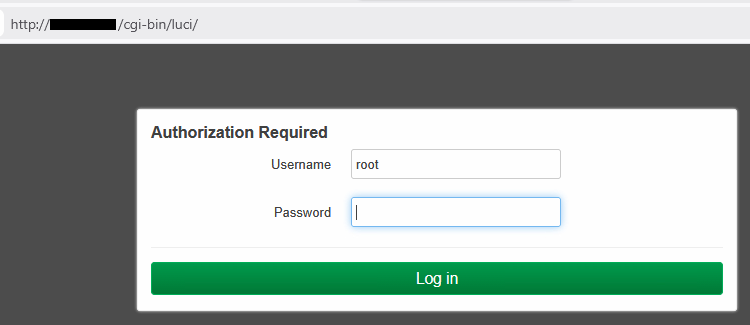
(Note:
{network-address}is the corresponding network address for your unique location/network). -
After a successful login, locate the
Internetsection on the dashboard where you will see your router'sIPv4address - this is the IP address you will use to SSH into the TurrisOS router.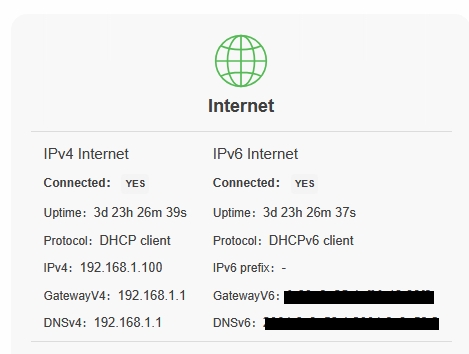
-
From the top navigation menu, go to Network and click on Firewall.
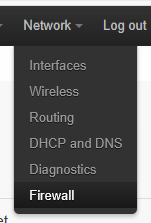
-
Go to the Traffic Rules tab and search for
port 22. Ensure that theEnabledcheckbox is ticked.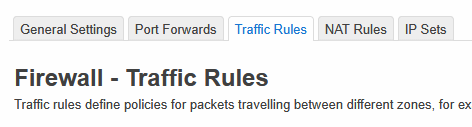

-
Click Save and Apply at the bottom of the page. The router will probably restart to apply the changes. Let it restart.

-
Open your terminal (or Powershell) and connect to your TurrisOS router as the
rootuser using the router's IPv4 address:ssh root@<router-ip> -
Copy and run the installation command provided on the final step of the Linuxaid installation wizard. This setup is fully automated and will install and configure Linuxaid on your router.
-
-
Once the Linuxaid setup completes on the TurrisOS router, log in to your Git hosting platform (e.g., GitHub/GitLab/Azure DevOps), open your
linuxaid-configrepository (configured during Git setup), and navigate to the Pull Requests section. You will see a prompt suggesting a new PR created from the newly added router's branch. Create the pull request and merge the changes into yourdefault(ormain) branch. -
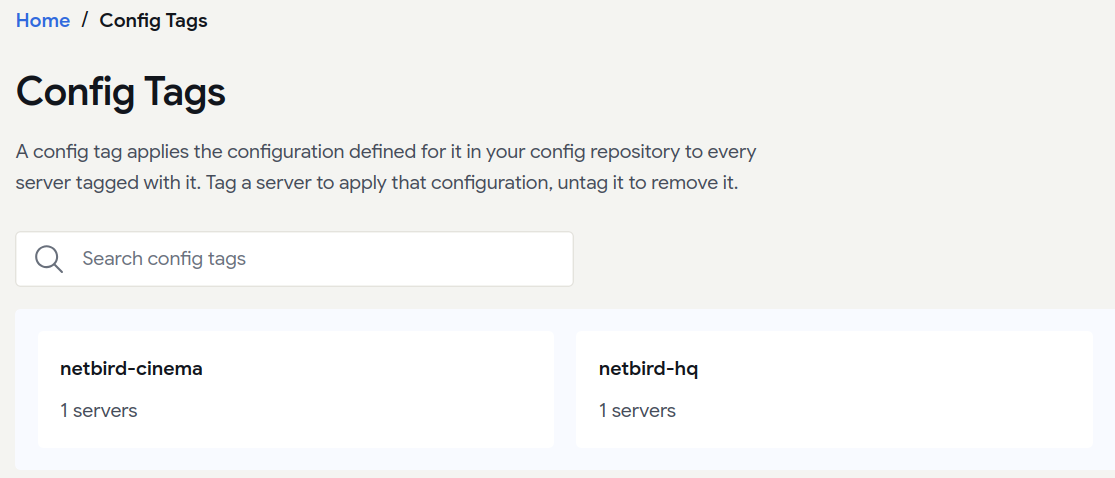
In the Obmondo UI, go to the tags page and add your
TurrisOSrouter as a member of the appropriate tag (based on your naming/location convention). If the tag does not exist, create one and add the router as a member.https://obmondo.com/user/servers/config-tagType Naming Convention HQ netbird-hqCinema netbird-cinema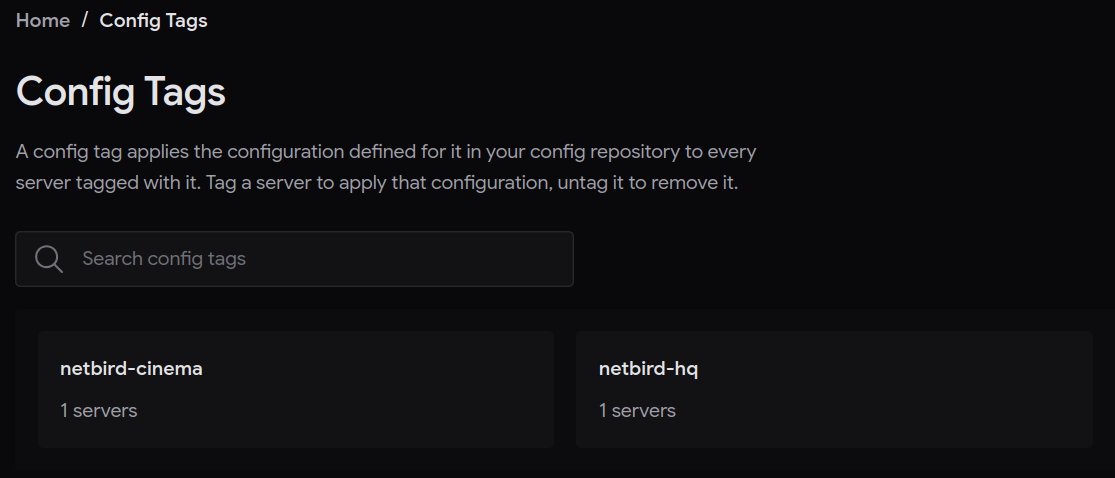
-
Wait a couple of minutes for the cache to refresh, then return to your TurrisOS router via SSH and run the puppet agent in no-noop mode. This applies all necessary configurations and installs/configures Netbird:
puppet agent -t --no-noop -
Verify that Netbird has been successfully installed:
netbird status -
Log in to your self-hosted Netbird VPN dashboard and check that the
TurrisOSrouter appears in the peer section:https://vpn.example.comNOTE: This is an example URL. Use your actual Netbird VPN URL, or reach out to us at ops@obmondo.com.
Setting up Netbird on Workstation Machines (e.g., Windows)
Once the TurrisOS router gateway is configured and connected to Netbird, you can connect workstation machines to the secure network.
-
Visit the official Netbird website and download the latest installer by clicking
Download Netbird:https://app.netbird.io/install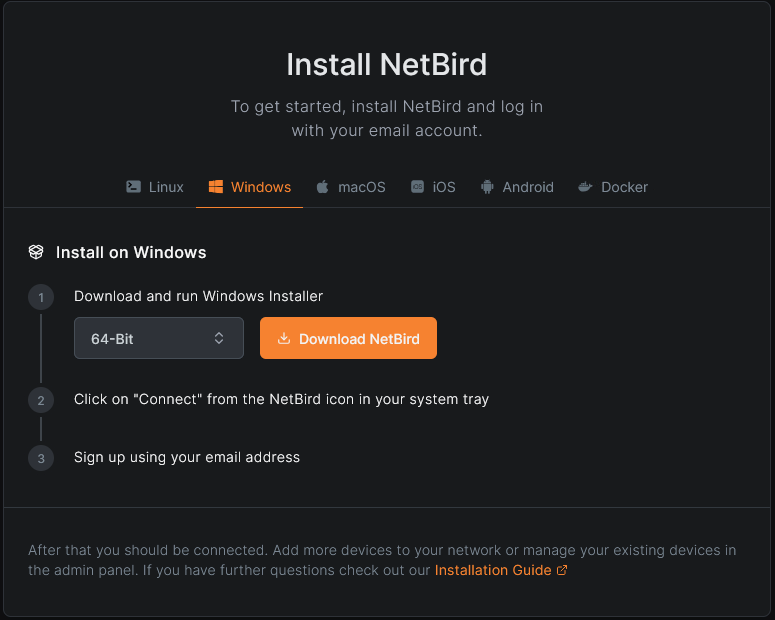
-
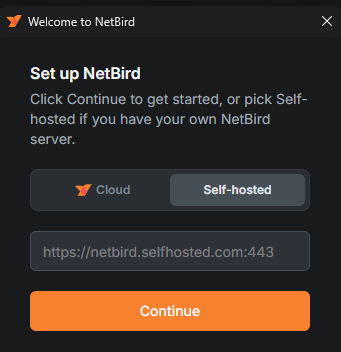
After installation, open the Netbird client. In the pop-up, switch to
Self-hosted, enter your self-hosted Netbird URL, and clickContinue.https://vpn.example.comNOTE: Use your actual Netbird VPN URL, or reach out to us at ops@obmondo.com.
-
You can authenticate using your user account credentials by toggling the
Disconnectedswitch, or connect viaSetup Keysif connecting headless workstations or machines tied to specific network locations (HQ/Cinema). This guide covers connecting viaSetup Keyshence leave theDisconnectedtoggle as-is.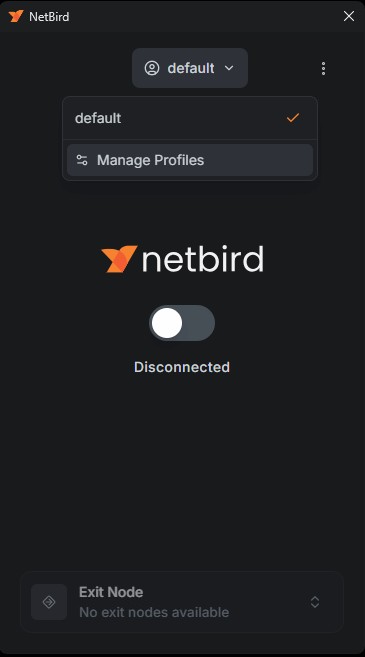
-
Open
PowerShelland run the following command with your setup key:netbird up --setup-key "{setup-key}"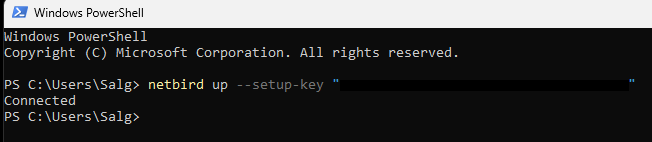
NOTE: Replace
{setup-key}with your actual one-time setup key. Reach out to us at ops@obmondo.com to generate one. -
Check the Netbird app to confirm status shows as
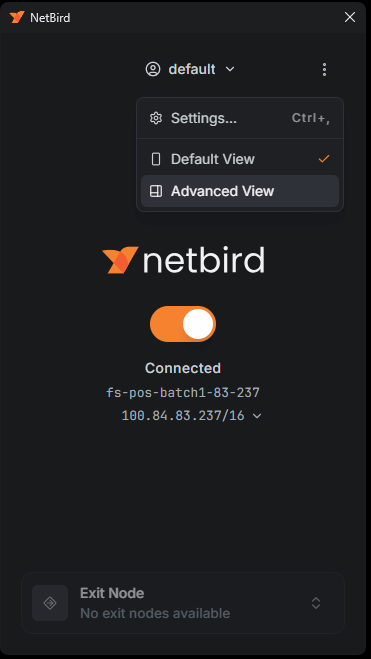
Connected.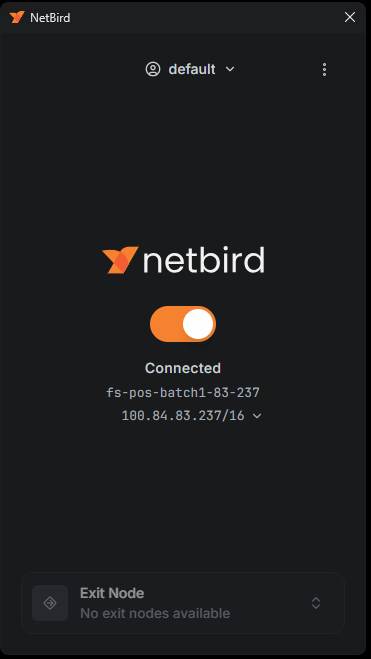
-
[Optional] View which networks and peers you can access by clicking the three dots icon at the top-right of the Netbird app and switching to
Advanced View.